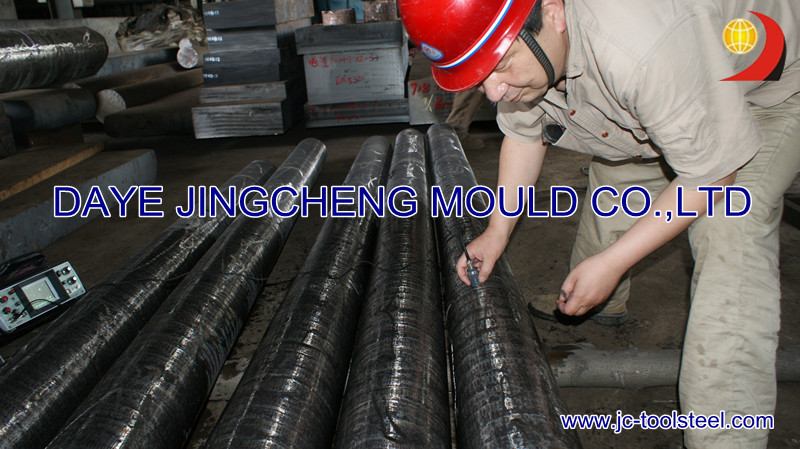
UT SEP 1921/84 standard

|
This spec is applicable to forged and hot-rolled, raw or processed steel bars in alloyed or non-alloyed steels, in natural state or treated condition. The inspection method for the search of internal defects can be freely chosen by the supplier (instrumentation, 1-4 MHz probes, coupling methods, etc.) as long as the test is carried out on the entire number of pieces. Defect recording must be done according to the F.B.H. (flat-bottom-hole) method. All defects (indications) bigger than the agreed-upon values must be described according to their position, size, extension and have to be reproduced in a drawing. Such a condition has to be sent to the Lucefin Group’s Technical Department for evaluation. |
|||||||
|
|
|
|
|
|
|
|
|
|
Acceptance limits |
|
|
|
|
|
|
|
|
Table 1 |
|
|
|
|
|
|
|
|
|
|
|
|
|
|
|
|
|
Size Category |
Single defects |
Defects with extension |
Max. extension |
||||
|
mm FBH (1) |
FBH mm |
mm |
|||||
|
A |
14 |
10 |
80 |
||||
|
B |
10 |
7 |
60 |
||||
|
C |
7 |
5 |
40 |
||||
|
D |
5 |
3 |
30 |
||||
|
E |
3 |
2 |
30 |
||||
|
(1) The distance between single defects must be min. 50 mm; where the distance is lower, defects must be |
|||||||
|
considered with their extension. |
|
|
|
|
|
||
|
Number of defects on individual pieces |
|
|
|
|
|||
|
Table 2 |
|
|
|
|
|
|
|
|
|
|
|
|
|
|
|
|
|
Frequency Category |
Number of defects |
Number of defects with extension |
|||||
|
a |
32 |
16 |
|||||
|
b |
16 |
8 |
|||||
|
c |
8 |
4 |
|||||
|
d |
4 |
2 |
|||||
|
e |
2 |
1 |
|||||


